Glamping photos are masters of persuasion: a glowing dome at dusk, a perfectly made bed, a steaming cup of coffee on a wooden deck. What the photo rarely shows is whether that bed is heated, whether the bathroom is a short walk away, or whether the nearest restaurant is an hour’s drive. First-time glampers often book a stylish tent photo without checking what the stay actually includes, then arrive disappointed.
This checklist helps you choose a glamping site with your eyes open. We’ll walk through picking a stay type that suits you, matching location and season to your plans, checking amenities before you pay, setting a realistic budget, reading reviews the right way, and timing your booking around the fine print. Work through each section in order and your first night under canvas should match the photos that sold you on it.
Decide What Kind of Glamping Experience You Want
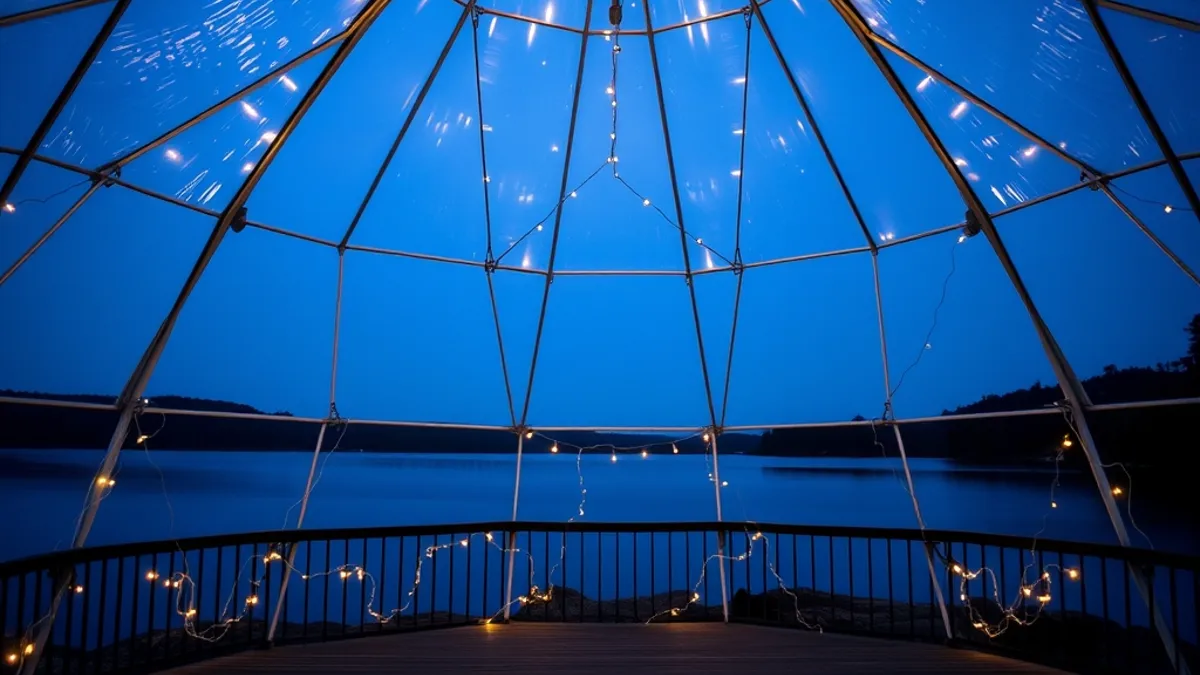
The first decision shapes everything else: what kind of structure do you actually want to sleep in? Safari tents are the classic entry point, usually canvas on a raised platform with real furniture inside. Yurts feel round, cozy and solid, with more insulation against wind. Geodesic domes give you panoramic windows and a modern, space-age feel. Airstreams are essentially retro trailers, so you get solid walls and a compact kitchen. Treehouses are the most exposed and often the most expensive, reached by stairs or a walkway among the branches.
Each type trades comfort against exposure to the outdoors in a different way, so think about what you want from the experience before falling for a photo.
Resort-style site or small nature stay?
The next question is scale. A resort-style glamping site might have a restaurant, a pool, organized activities and dozens of units, so your days can fill themselves. A small farm or nature site might have just a few units scattered around a working property, which means quiet, animals, and hosts who personally hand you the keys. Neither is better; they simply suit different trips.
Finally, decide how much roughing it you accept. A real bed and some form of heating are standard almost everywhere. A private kitchen, air conditioning and a private deck are not, so treat those as bonuses to confirm rather than assumptions to make.
Pick the Right Location and Season
Glamping is as much about where you wake up as where you sleep, so match the setting to your goal. A lakeside site suits swimming, kayaking and slow mornings with mist drifting over the water; a lake region in Poland shows how well this works for slow travel. Coastlines bring salt air, beach days and windier nights, which matters more in a tent than you might expect. Mountain sites deliver cooler temperatures and hiking straight from your tent door, while vineyards wrap the stay in wine tastings and rolling rows of grapes. Think honestly about how you’ll spend your days, then pick the setting that supports those plans rather than just the prettiest photo.
Season matters just as much. In most of Europe and North America, the reliable glamping window runs from May to September. Outside those months, many smaller sites close entirely or run with reduced facilities, so confirm the site is actually open before you fall in love with it. The shoulder months at either end often mean lower prices and quieter surroundings, but also colder nights that can surprise you if you packed for summer. Ask the host what a typical night feels like in the month you plan to visit, and pack layers either way.
Practical checks before you commit
- Road access: some rural sites sit at the end of unpaved tracks that can be rough after rain, so ask whether a regular car can manage the final stretch.
- Driving distance: a site three hours from home feels different from one six hours away, especially with a two-night stay, so count the total round trip against your time on site.
- Day-trip range: many glamping sites sit far from restaurants and shops, so check what’s within a reasonable drive for dinners, groceries and fuel.
Check Amenities and Comfort Levels Before You Book
Amenities are where glamping stays differ most, and where first-timers get burned. Start with bathrooms: confirm whether your unit has a private ensuite or whether you’ll share a washblock with other guests. Shared facilities are common in stays under $150 per night, and while they’re often perfectly clean, they change the feel of the trip if you were expecting your own shower. Ask exactly how far the washblock is from your unit, too. A two-minute walk feels very different at midnight in the rain than it does in a listing photo.
Next, ask about heating and cooling. Tents and domes can swing 10-15 degrees from daytime highs once the sun sets, so a warm afternoon doesn’t guarantee a warm night. Some sites provide wood stoves or electric heaters, others just extra blankets, and a few offer neither outside the May to September window. For a real-world example of how a well-run site handles comfort in a demanding climate, this review of glamping near Lake Powell shows what to look for in a desert setting, where nights cool down fast even after scorching afternoons.
Confirm the basics in writing
- Bedding and towels: most glamping stays include them, but a few budget sites ask you to bring your own sleeping bag or linens, so check before packing. Also ask whether towels are refreshed during longer stays.
- Cooking and meals: some units have a full kitchenette or shared camp kitchen, others only a kettle, and certain sites offer breakfast or dinners on site for a fee. If you plan to cook, confirm there’s a fridge and somewhere to store food away from wildlife.
- Wi-Fi and phone signal: many rural sites have none at all, so if you need to work or stay reachable, ask the host directly rather than trusting the listing.
- Lighting and power: some units run on solar with limited electricity, which matters if you’re charging cameras or a laptop. Ask whether there’s an outlet in the unit or only in a shared area.
Getting these details confirmed by email before you pay saves disappointment later. Hosts who answer specific questions clearly are usually the ones who run tidy, well-organized sites, so treat slow or vague replies as a useful signal about what your stay will actually be like.
Set a Realistic Budget for Glamping
Glamping prices vary more than most first-timers expect, so it helps to understand what drives the cost before you fall in love with a listing. Basic tent-style stays sit at the lower end of the price range, while luxury domes and lodges typically run $250-500 per night. That spread reflects real differences: size, insulation, private bathrooms and how much the host has invested in the setup.
Factor in the extras
The nightly rate is rarely the whole cost. Meals, activity rentals and cleaning fees can add 20-30% to the base rate, so a tent that looks like a bargain can end up noticeably more expensive once the extras land on your bill. Ask the host up front what is included and what is charged separately, then add those numbers to your total before comparing options. Firewood, pet fees and parking can also show up as line items.
Compare against local hotels
It is also worth checking what a normal hotel costs in the same area. At the top of the range, glamping can cost as much as a mid-range hotel room, and sometimes more. That does not make it a bad deal, but you should know what you are paying for: a one-of-a-kind setting and experience rather than a bigger room or a pool. If a luxury dome costs the same as a hotel, make sure the location and the setup genuinely excite you, otherwise the money may be better spent elsewhere.
Read Reviews and Vet the Host
Photos sell glamping sites, but reviews tell you how a stay actually feels. The most useful reviews rarely discuss the view. They talk about how the tent held up in a storm, whether the shared shower was clean at 8 pm, and how quickly the host fixed a broken heater. Prioritize those details over pretty pictures, which are often taken on the site’s best day of the year.
The issues first-timers underestimate
Search reviews specifically for mentions of noise, insects and wildlife. These are the three problems new glampers most often overlook. A site next to a working farm may mean roosters at dawn. A lakeside yurt may come with mosquitoes. A safari tent in the woods may host curious raccoons overnight. None of these are dealbreakers for everyone, but you should go in with your eyes open rather than discovering them at midnight.
Vet the host, not just the site
Check how long the site has been operating. A host with several seasons behind them has usually worked out the leaks, the heating and the check-in routine. Then read how they respond to negative reviews: a thoughtful, practical reply is a good sign, while silence or defensiveness tells you what to expect if something goes wrong during your stay. For an example of what a thorough review can reveal about a site, see our review of a lakeside glamping stay in Castel Volturno, Italy.
Time Your Booking and Understand the Fine Print
Glamping sites are small by nature, so the best units disappear early. With most sites offering just 5-20 units, a single busy weekend can sell out a whole property, and unlike a hotel with a hundred rooms, there is rarely another comparable tent or dome left to move you into. That scarcity shapes when you should book, what you should double-check before paying, and how flexible you can afford to be with your dates.
- Book early for summer weekends. Aim to reserve 2-4 months ahead for summer weekends, when demand peaks and the most attractive units go first. If you have your heart set on a specific tent or dome with the best view or deck, treat that as your booking trigger rather than an afterthought.
- Allow even more time near famous parks. For sites close to popular national parks, book about 6 months ahead, since these locations draw visitors from far beyond the region and often coincide with park entrance reservations.
- Plan around minimum stays. Many sites require a 2-night minimum stay on weekends, so check this before you build a one-night stop into your itinerary. A Friday arrival with a Saturday departure may simply not be possible.
- Confirm the cancellation window. Free cancellation is commonly offered 7-14 days before arrival, but the exact terms vary, so read them before you commit rather than after plans change. Put the cancellation deadline in your calendar as soon as you book.
- Ask about children, pets and campfires. Policies differ widely from site to site, and finding out at check-in is too late, so confirm all three in writing when you book.
A few minutes of checking now saves you from losing money or arriving to rules you did not expect. Once the booking is confirmed and the fine print is clear, all that remains is the fun part: packing and counting down to your first night under canvas.
Your First Glamping Trip, Sorted
Most glamping letdowns trace back to the same mistake: falling for a gorgeous listing image and never confirming what the stay actually offers. The fix is simple. Work through a short checklist before you pay anything. Start with the style of stay that suits you, then match the setting and time of year to it, confirm the comforts you can’t live without, set a budget that covers the extras, vet the host through reviews, and finally book early enough and read the fine print.
Get those six things right — stay type, location and season, amenities, budget, host reputation and booking timing — and your first night under canvas should live up to the pictures that sold you on it. If this checklist helped you plan your trip, leave a comment or share this article with a friend who’s thinking about their first glamping stay.