You’ve booked a safari tent or a dome in the woods, and you arrive expecting a lobby, a front desk and someone handing you a key card. Instead, you find a gravel lane, a lockbox on a fence post and a printed map taped to a board. That gap between hotel expectations and glamping reality catches out a lot of first-timers, so understanding how glamping check-in works before you set off will save you confusion, phone calls and a stressful first evening.
This guide walks you through the whole arrival process, from how glamping check-in differs from a hotel, to arrival windows and what to do if you’re running late, to keys, codes and finding your tent in the dark. We’ll also cover the orientation walk, the site rules worth knowing before you book, what to confirm with your host ahead of time, and how to set yourself up for a smooth first night under canvas. Most hosts send arrival instructions a few days before your stay, so read them carefully and you’ll be fine.
How Glamping Check-In Differs From a Hotel
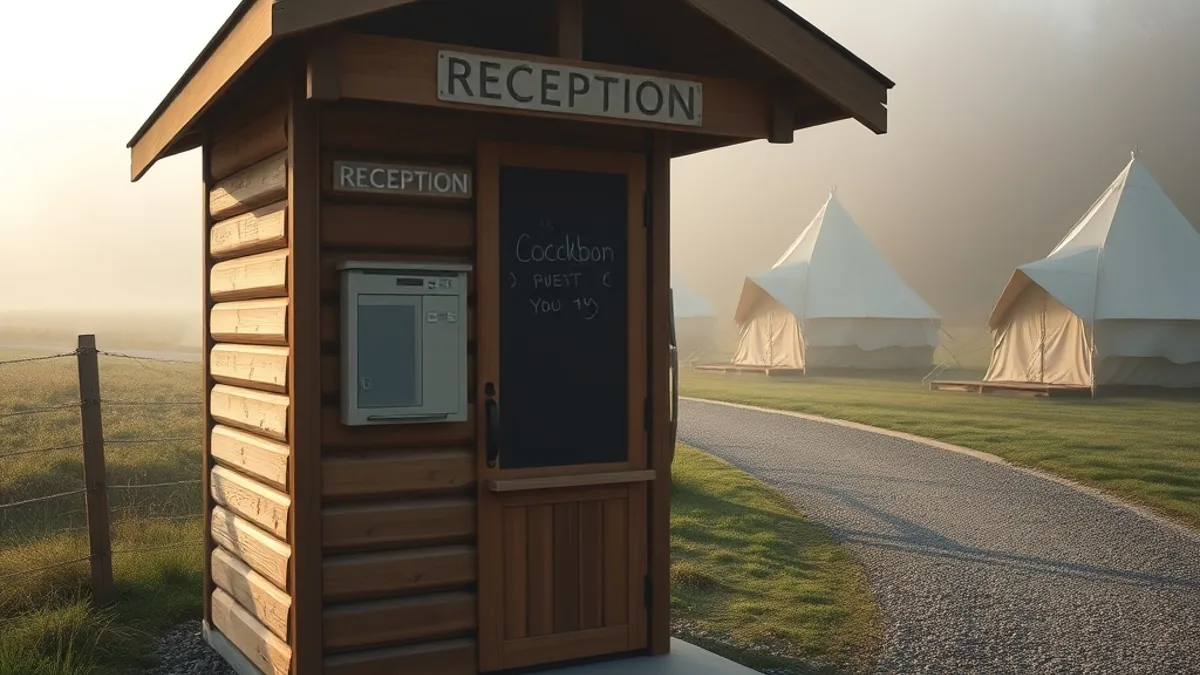
Glamping check-in feels nothing like rolling up to a hotel lobby. Most glamping sites are small operations with somewhere between 5 and 30 units, often run by a couple or a small family team. That scale means there is rarely a staffed, 24-hour front desk waiting for you. Instead, check-in is usually self-service, especially outside peak hours.
No reception counter? Here’s what to expect
Without a reception counter, sites rely on a few practical alternatives. The most common is a lockbox or keypad on your tent or cabin, with a code sent ahead of your stay. At more hands-on sites, a host or staff member may meet you in person, walk you to your unit and hand over the keys directly. Some properties combine both: a meet-and-greet during the day, self-service access in the evening.
Because there is no front desk to ask questions at, the arrival instructions become your guidebook. Most sites email these 3–7 days before your stay, covering everything from access codes to parking. Read them before you leave home, not in the driveway with one bar of signal. Save the host’s phone number, screenshot the instructions and check whether you need anything unusual, like a specific vehicle for the access road. A few minutes of prep makes the whole arrival feel effortless rather than improvised.
Arrival Windows and Late Arrivals
Most glamping sites keep things simple: check-in runs from 3:00 to 6:00 pm, and check-out falls between 10:00 and 11:00 am the next morning. That gives you a three-hour window to arrive, park, collect your key or code and get the short orientation before the day winds down. It is looser than a hotel check-in, but it is still a window, not an open invitation to show up whenever you like.
The number that matters most is when reception actually closes. Many sites shut the office by 5 or 6 pm, even if the check-in window officially runs later. If you plan to arrive after that, you will usually need to arrange self-check-in in advance — a lockbox code, a keypad or a pre-agreed meeting point. Hosts are generally happy to set this up, but only if you tell them ahead of time. Turning up at 9 pm with no arrangement and no signal is how first nights go wrong.
Why arriving before dark matters
Rural glamping sites often sit at the end of long gravel access roads, sometimes several minutes of slow driving from the nearest main road. Those roads are far easier to navigate in daylight, especially when you are finding them for the first time. On your first night, aim to arrive well before sunset so you can see the entrance, find your pitch and read any signage without a headlamp in one hand.
If a late arrival is unavoidable, message the host with your estimated time and confirm exactly how you will get in. It also helps to have the arrival instructions saved offline, since rural phone signal can drop out exactly when you need it. For a sense of how a well-organized arrival works in practice, our stay at Laghi Nabi in Castel Volturno showed how a clear arrival process makes an evening check-in stress-free.
Keys, Codes and Access to Your Tent
Unlike a hotel with a plastic key card, glamping access usually comes down to one of three things: a lockbox code, a keypad on the tent door, or a personal handover from staff. Lockboxes are small metal boxes mounted near the tent or on a post, holding the actual key inside. Keypads let you skip the physical key entirely — you punch in a code and the door unlocks. A staff handover is common at smaller, more personal sites, where someone walks you to your tent and shows you the lock in person.
Some sites add one more layer: a shared gate code that controls the entrance road or parking area. This code is typically valid for the whole length of your stay and is sent with your arrival instructions. Keep it handy on your phone, since you may need it every time you drive back from a day trip.
Lost keys are a real (and avoidable) cost at tented sites. Because keys are simple and inexpensive, some operators charge a replacement fee if one goes missing, and a few may even ask you to leave the key in the lockbox at check-out rather than return it to reception. When you arrive, take a photo of the lockbox with the code visible, or screenshot the email with your access details. That way, if your phone dies or a travel companion asks, the code is easy to find.
- If your tent uses a keypad, test the code before your host leaves — some have a separate code for the front door and a different one for a storage box or bike rack.
- Lockbox codes are sometimes changed between guests, so the code from a previous stay at the same site may not work.
- Ask where the key should go at check-out: some sites want it back in the lockbox, others have a drop box by the exit.
- If a staff member hands you the key in person, confirm what happens if you lock yourself out after reception closes.
The Orientation Walk and Site Layout
Once you have your key or code, most glamping sites start you off with a short orientation. At staffed sites, someone will walk you to your tent and point out the essentials: the bathrooms or shower block, the shared kitchen shelter, the water points for filling bottles and the fire pits. At self-service sites, a printed map in your arrival email or taped to the tent door does the same job. Either way, take two minutes to actually absorb it — wandering in the dark looking for a toilet block is nobody’s idea of a fun first evening.
Lighting deserves special attention. Many glamping sites are deliberately dim to preserve the night sky and the atmosphere, so paths may be marked by a few low-level lanterns or nothing at all. Pack a headlamp per person, and keep one by your bed for trips to the bathroom after lights-out. A small flashlight on your phone helps, but a headlamp leaves your hands free for unzipping tent flaps and carrying water. If you want a sense of how this works in practice, this glamping review from the Grand Staircase region gives a good picture of a large, deliberately low-lit site.
Find the emergency details before the office closes
Before reception shuts — often by early evening — note where the emergency contact board is posted, or save the host’s phone number in your contacts. It should list who to call for a burst water pipe, a locked-out situation or a medical issue, along with the site’s address for emergency services. Do this on day one, not at midnight when you actually need it.
Common Site Rules to Know Before You Book
Glamping sites are more relaxed than hotels in atmosphere but often stricter in rules, simply because canvas walls, shared kitchens and open land leave less room for error. The good news: nearly every rule is predictable, and you can read most of them before you book. Quiet hours are the big one — they commonly run from 10:00 pm to 7:00 am, and at most sites this is a genuine, enforced rule rather than a polite suggestion. Hosts will absolutely knock on a tent door at 11:30 pm.
Fire rules come a close second. Many sites ban outside fires entirely, and open flames are usually restricted to designated fire pits — a policy driven by fire risk on dry grassland as much as by insurance. If you want to cook, a camp stove on a stable surface is the safe alternative almost everywhere. And if you’re traveling with a dog, check before booking: dogs are welcome at roughly half of glamping sites, usually with a small per-stay fee and a requirement to keep them on a lead. For an example of how dog-friendly policies and site rules work together on a family-run site, see this review of a glamping site in Combe Martin.
- Sound carries, not blocks: canvas and thin walls mean a conversation at normal volume can be heard two tents away, so keep voices low in the evening.
- Generators are usually banned or restricted: the hum is one of the most common complaints, so check battery or solar options if you need to charge devices.
- Late arrivals disturb neighbors: if you can’t avoid arriving after quiet hours begin, email the host so they can place you in a unit away from occupied tents.
- Firewood is often sold on site, not brought in: some regions restrict moving firewood to prevent pests, so ask the host rather than packing your own logs.
What to Confirm With the Host Before Arrival
Glamping sites vary far more than hotels, so a five-minute email exchange before you book saves a lot of surprises. Start with timing: if you want a peak-season stay in June, July or August, book three to six months ahead. These small sites have only a handful of units, and the best tents go first. Once you’ve booked, confirm your arrival time and window with the host, especially if you expect to reach the site in the evening.
What’s included — and what isn’t
This is the question that varies most between sites. Some glamping tents come fully equipped with made-up beds, towels, a stove, pots and pans, and even basic pantry staples. Others provide only the bed frame and a shared kitchen, expecting you to bring a sleeping bag or liner and your own cooking gear. Ask specifically about bedding, towels and cooking equipment, and whether there’s potable water on site. The answer changes what you pack more than anything else.
Two practical checks round things out. First, ask about phone signal at your tent — rural sites can have patchy coverage, and if you work remotely or need navigation, you’ll want to know before you arrive. Second, ask how far you’ll park from your unit. At some sites you drive almost to the tent door; at others you walk several hundred meters along a gravel path. If you’re carrying heavy bags, a cooler or a toddler, that distance matters. Many hosts will help with luggage if you ask in advance — but only if you ask.
A Smooth First Night Under Canvas
Glamping check-in is simpler than it sounds once you know what to expect: a time window, a code or key and a short orientation. Most of the surprise comes from expecting a hotel front desk that simply isn’t there. Small sites run on self-service, emailed instructions and a bit of common sense.
Reading your arrival instructions and site rules in advance prevents almost every common first-night problem, from missed lockbox codes to unexpected quiet hours. Arrive before dark, note the host’s contact details, and you’ll be settling into your tent while everyone else is still circling the gravel road. If this guide helped you plan your first night under canvas, leave a comment or share it with a fellow traveler.