You’ve spent eight hours on the trail, your legs are done, and all you want is a hot shower and a real bed. The problem? Most people pick a glamping site for its Instagram views, then discover the nearest actual trailhead is a 30-minute drive away. If hiking is the reason for your trip, the site itself needs to be chosen for trail access first and scenery second.
This guide walks you through exactly how to find a glamping site near hiking trails that works for the way you actually hike. We’ll cover why trail access should drive your choice, how to match the route network to your fitness and trip length, which elevation and season details to check before booking, and what hiker-friendly facilities separate a great base from a pretty one. We’ll also compare tents, domes and cabins, and share a booking strategy that gets you the best unit, not just any unit.
Why Trail Access Should Drive Your Glamping Site Choice
The single biggest mistake hikers make when booking a glamping stay is treating the site like accommodation instead of like a trailhead with beds attached. Set a simple rule for your search: the marked trailhead should be within 1 km of your tent, which typically means a 10–15 minute walk at most. That way you can lace up your boots after breakfast and be on the path without ever touching your car keys.
Trails from the door, or trails by car?
Not every site that claims “hiking nearby” actually connects to the network. Some sit beside a road where every route starts from a parking area a short drive away, which turns every morning into a shuttle run and every afternoon into a race for parking. Ask the host directly whether trails leave from the property or whether you’ll need to drive to reach them, and if a shuttle is required, ask how long it takes and where you’d leave the car.
There’s a second advantage that’s easy to overlook: a base near the trails lets you take rest days without packing up. On a multi-day trip, your body will thank you for a slow morning, a short wander, and an afternoon doing nothing in a hammock. When the trailhead is steps from your tent, a rest day costs you nothing. When it’s a drive away, rest days tend to disappear.
Match the Trail Network to Your Fitness and Trip Length
Once you’ve confirmed that trails are genuinely reachable, look at what kind of routes they are. A site surrounded by one 5 km path will feel repetitive by day two. The sweet spot for most travelers is a network with at least two route options in the 10–15 km range, so you can vary your days instead of repeating the same walk.
Trip length matters just as much. A one-night stay forces you into a single big hike with no recovery time, which is how people end up limping back to the tent. Two to three nights is the better formula: you can alternate a demanding day with an easier one, and still have an evening to enjoy the site itself. If you want a sense of how a well-located site feels in practice, read this review of a glamping stay in Castel Volturno, Italy.
Before booking, also check the shape of the routes on a mapping app, because it changes how your days flow:
- Loop routes let you see new scenery all day and return to the site from a different direction, which is ideal when the trailhead is at your door.
- Out-and-back paths work well for summit hikes, but check how much of the return leg repeats ground you’ve already covered.
- Linked routes that share sections let you shorten a long day mid-hike by cutting back early, a useful safety valve if weather turns.
Match the network to your legs, not to the photos. Ten to fifteen kilometers is comfortable for most reasonably fit hikers with a daypack, and having a shorter alternative nearby means a tired day never has to become a zero.
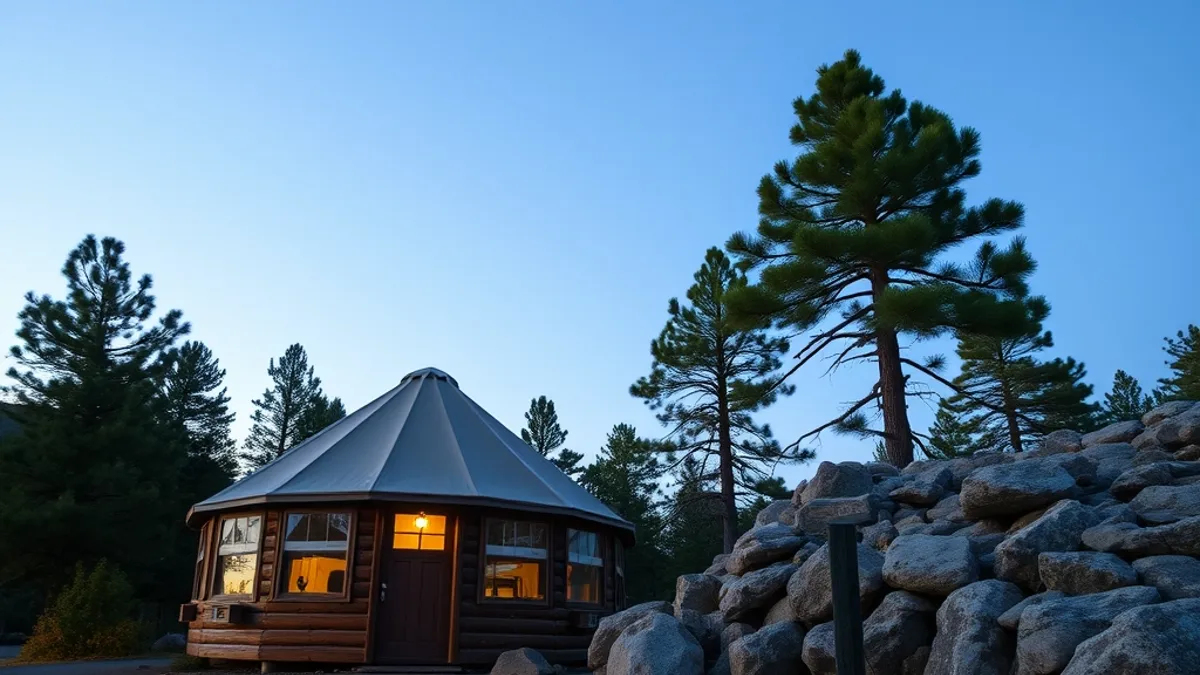
Check Elevation and Season Before Booking a Glamping Site Near Hiking Trails
Elevation and season quietly make or break a hiking-focused glamping trip. The key number to watch is 1,500 m: sites above that height can still hold snow on surrounding trails until late May, even when the valley below looks green and inviting in photos. A dome that books beautifully for early May may sit next to paths that are still icy or buried.
For mild temperatures and quiet paths, aim for May–June or September–October. In early summer you get long daylight and fresh trails before the peak crowds; in autumn you get stable weather, cooler walking conditions and often lower rates. Midsummer works too, but expect busier trailheads and hotter midday hours that push you to start earlier.
The other detail people forget: many mountain glamping sites simply close from October through April, so a site you loved in September may not even answer emails in November. Before you commit, work through this checklist:
- Confirm the exact opening and closing dates for your travel window, not just the general season, since high-altitude sites often open later than lowland ones.
- Ask which nearby trails are snow-free at your chosen dates, and whether the host can suggest lower-elevation alternatives if the high routes still hold snow.
- Check how the units handle cold nights, because a canvas tent that was perfect in July can be a different experience in late September.
Desert and canyon country plays by slightly different rules, with spring and autumn as the prime windows and summer heat to plan around. For a closer look at what a seasonal stay in that kind of terrain involves, see this review of a glamping site near Lake Powell and Grand Staircase.
Evaluate Hiker-Friendly Facilities
After a long day on the trail, the difference between a good glamping site and a great one comes down to the details. Wet boots, damp socks and a heavy pack are part of hiking, but where you store and dry that gear matters. Before you book, ask the host directly about a gear drying room, boot racks near the entrance and a secure luggage drop-off if you plan to arrive before check-in or hike out on your last day.
Food timing is the second thing to confirm. Most trail days start before 8 am, so an early breakfast service can make or break your schedule. Some sites offer a pre-packed breakfast bag instead of a seated meal, which works well when you want to be walking at first light. If breakfast only starts mid-morning, you will either skip it or lose your best hiking hours. Ask about this when you reserve, not when you arrive.
Recovery facilities are the final filter. A soak or a hot shower after a solid day on the paths helps your legs recover for the next morning. A stay like this farm camp in Katori, Japan shows how thoughtful extras can turn a simple tent stay into a proper rest day. When comparing sites, run through this checklist:
- Gear drying room: a heated space where boots, jackets and tents dry overnight, so you start the next day with dry kit instead of cold, damp socks.
- Boot racks and mud mats: a designated spot at the unit entrance that keeps muddy soles out of your sleeping area and protects tent floors.
- Secure luggage drop-off: a locked room or staffed reception where you can leave bags before check-in or after checkout, useful for hiking on arrival or departure days.
- Early breakfast or grab-and-go bags: service that starts before 8 am, or a packed option you collect the evening before.
- Hot tub, sauna or outdoor shower: recovery options that ease sore legs, with an outdoor shower being especially handy for rinsing off mud before it tracks inside.
Compare Stay Types: Tents, Domes and Cabins by the Trail
The stay type you choose shapes how warm, dry and rested you feel between hikes. Safari tents are the classic glamping image: canvas walls, a proper bed and often a small deck. They work beautifully in warm-season trips, but canvas offers little insulation once nights drop below 10 °C. If you are hiking in the shoulder seasons of May–June or September–October, check whether the tent comes with a heater, extra blankets or a wood stove before you commit.
Domes and cabins stretch the season
Geodesic domes and solid-wall cabins handle cold far better. Both give you heating and a solid floor, which means no cold air seeping up from the ground and no morning dew on your gear. Cabins add the bonus of soundproofing and more storage space for drying kit, while domes often win on views and stargazing from bed. If your trip includes any chance of frost, these are the safer picks.
What you can expect to pay
Near popular trail regions, expect roughly $120–$350 per night for two people, with safari tents at the lower end and heated cabins or domes at the upper end. Prices shift with season and demand, so check current rates directly with the site rather than relying on older listings. Weigh the price against the season: paying more for a heated unit in a cool month is usually better value than a cheaper tent you will shiver in.
Booking Strategy for Trail-Side Glamping
Trail-side glamping sites near famous routes sell out fast, and the best units go first. A simple booking routine keeps you from settling for a leftover tent next to the car park. The good news is that securing a great unit near a popular trailhead is less about luck and more about timing, so it pays to treat the reservation like part of your trip planning rather than an afterthought. Work through these steps in order:
- Fix your dates first. Decide whether you are targeting peak summer or the milder shoulder seasons, because your booking lead time depends entirely on this. Locking your dates before you contact a site also makes it easier to compare availability across several properties in the same trail region.
- Book 3–6 months ahead for July–August. Summer stays near well-known trails fill early, and waiting until spring often leaves only the least desirable units. If you have flexibility midweek rather than on weekends, mention that too, since midweek gaps are often the first to be offered.
- Use a shorter window for shoulder season. For May–June or September–October dates, booking 4–8 weeks ahead is usually enough, and you may even find better availability than in high summer.
- Request a unit farthest from the car park. When you reserve, ask specifically for the unit set back from parking and reception. It costs nothing to ask, and it means quieter mornings away from headlights and doors slamming.
- Confirm the hiker details at booking time. While you have the host on the phone or email, verify early breakfast, gear drying and luggage drop-off so there are no surprises on arrival.
One final habit pays off: set a calendar reminder for your booking window rather than trusting memory. Popular trail regions reward planners, and the travelers who reserve early consistently get the quietest units, the best views and the smoothest check-in experience. A short confirmation email summarizing your requests also gives you something to refer back to if anything is missing when you arrive.
The Trail-Tested Way to Pick Your Base
Many hikers pick a glamping site for the view first and think about trails later, then spend every morning driving to a trailhead they could have walked to from a better-chosen base. It pays to reverse that order. When comparing sites, put the surrounding path network at the top of your list and treat the tent itself as the second consideration, not the first.
A simple way to judge a site is to picture your typical day there. If you can lace up your boots at the tent door and reach a marked trailhead in 10–15 minutes, you gain hours of walking time over a multi-day stay. You also keep the option of an easy half-day or a restful morning without touching the car, which matters more than most people expect.
Once the location passes that test, the smaller details tend to confirm or kill the choice. Hiker-oriented touches like a gear drying area, a luggage drop and an early breakfast service tell you the hosts actually understand trail guests. And if you are aiming for the popular summer weeks, remember that the best-positioned units near well-known trails go first, so plan ahead rather than hoping for a late cancellation.
Get this sequence right and each day ends with a short walk back to your accommodation instead of a long drive, which is exactly what a mountain trip should feel like. If this helped you plan your next hike, leave a comment or share the article with your trail crew.